
Commissioning the Charger #
We’ve made it easy to set up the eCord charger using one of the following:
- eCord User App – Download and install this app on the end-users device to complete the setup process.
- Network Access Point (AP Mode) – Local hotspot connection with the charge point. Use this to configure the charge point and server details manually.
- eCord Installer App – Installers should use this app and the transfer device ownership setting once setup is complete.
1. Humax eCord App #
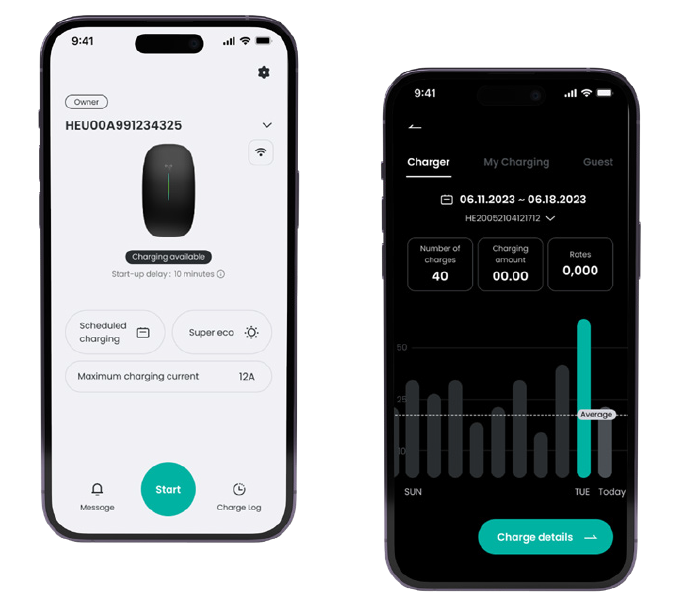
Setup Instructions
Download the Humax eCord app (scan the QR code) and proceed with the on-screen instructions.

Tip: For full step-by-step details, please refer to the User Manual available online at the Support Hub.
2. Network Access Point (AP Mode) #
Access Point Mode (AP Mode) is a function that allows you to configure the network and server settings of the charger. The instructions below will guide you through how to connect to the charger and the server via any web browser.
Connect to the Charge Point WiFi Hotspot #

Step 1 – Airplane Mode
We suggest placing your smartphone in to airplane mode and ensure WiFi is enabled.
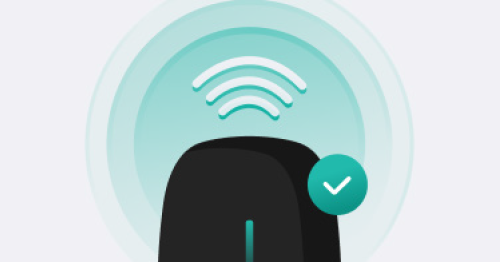
Step 2 – Power Reboot
Restart the power of the Charge Point and ensure the indicator light is flashing green.
Please note that the network configuration setting is only accessible 15 minutes after a power restart.
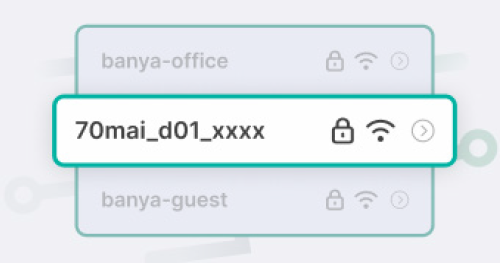
Step 3 – Charge Point WiFi Hotspot
On your smart phone, navigate to WiFi networks and select the charge point network, starting with HEXXX… (same as device Serial Number).
Input the default password: admin123
Tip: Please reject automatic Wi-Fi network switching when the message appears for now.
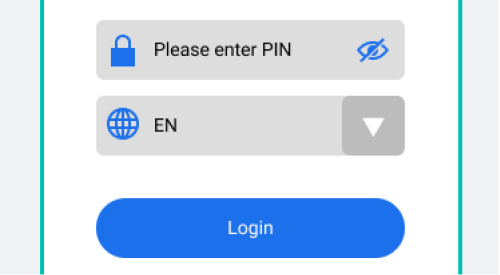
Step 4 – Connect to Charge Point
Open a web browser on your smartphone which should now be connected to the charger hotspot.
In the URL bar, type: 192.168.4.1
Input the 4-digit network pin which can be found on the charge point.
Tip: If the 192.168.4.1 webpage is not accessible, please reboot the charge point power and try again.
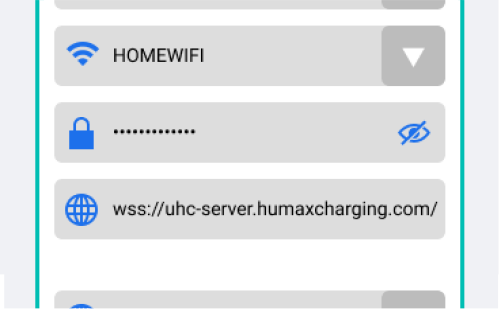
Step 5 – Network Settings
Tap the Network Settings button.
Select the your home WiFi network and enter the password.
Enter the server address:
UK
wss://uhc-server.humaxcharging.com/
Europe
wss://ehc-server.humaxcharging.com/
Tip: Repeat Steps 3-4 to reconnect to the charge point hotspot.

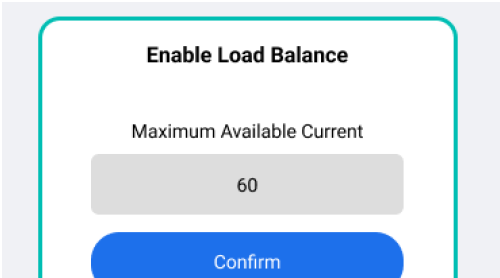
Step 6 – Charger Settings
Tap the Charger Settings button.
Switch Charging Modes:
- Network (RFID & App)
- Plug & Charge
Load Balancing:
Should be configured when a CT/Smart Meter is connected.
Check your household Main Fuse Rating, i.e. (60A, 80A, 100A) and enter this value. Save changes and reboot.
Tip: Repeat Steps 3-4 to reconnect to the charge point hotspot.

Step 7 – Verify Network Connectivity
If the WiFi strength is poor, please try a WiFi Extender or wired connection.
Verify The Following:
Wi-Fi Name – (your wifi router SSID)
Signal Strength – Excellent
Server Status – Connected
Network Status – Online
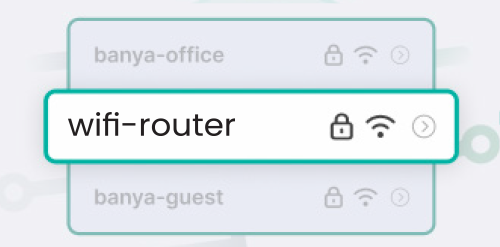
Step 8 – Switch back to local WiFi
Turn off airplane mode and connect back to the home WiFi network.
The charge point will restart and load in to the home network connection.
3. eCord Installer App #
The Humax eCord Installer app is to be used by Humax approved installers. If you have any trouble with your account, please contact our support team.
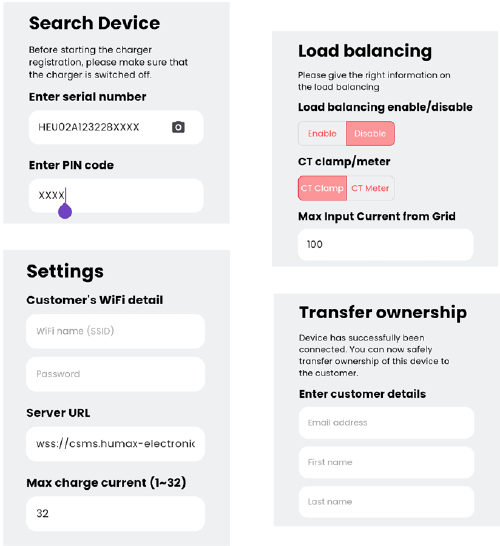
Setup Instructions
Download the Humax eCord Installer app (scan the QR code) and proceed with the on-screen instructions
- Sign In/Up
Approved installers can login using their assigned email address. - Search Device
Scan the device serial number with the camera or input manually. - Settings – WiFi/Server
Enter Wi-Fi and Server details, whilst setting the Max Charge Current. - Load Balancing
Configure load balancing and CT details based on household/grid. - Transfer Ownership
Enter the end user’s email address to transfer the charge point.
Tip: For full step-by-step details, please refer to the user manual available online at the Support Hub.
Plug & Charge #
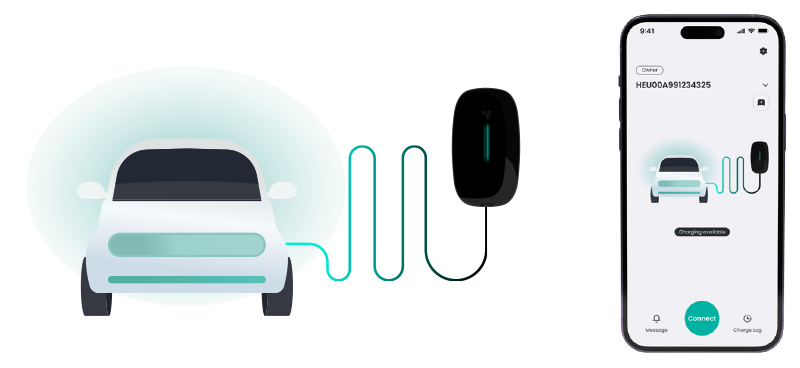
Simply plug the charging cable into your EV to start charging.
To stop charging, use your car to unlock the charger cable from the EV and unplug.
Tip: Plug & Charge prioritises convenience. This mode should only be activated if your charge point and EV is parked in a private and gated residence.
To enable Plug & Charge, see page 13 for Step 6 – Charger Settings.
Network (RFID & App) #
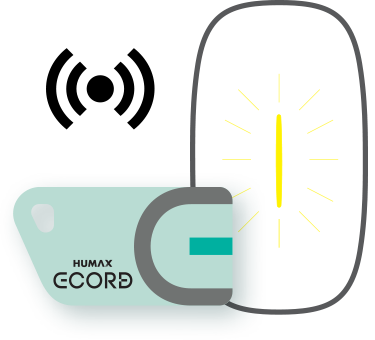
Alternatively, activate the charger from the unit by swiping the RFID card over the reader indicator.
To stop charging, simply swipe over the reader indicator again.
A yellow pulse indicates a successful card swipe.
RFID Card (Network) requires an internet connection. An activation request is securely sent to the server which enables the charging system.
Tip: This mode should be activated if your charge point and EV is parked in a open or ungated residence.
RFID cards can be registered through the eCord app.
Humax eCord app #
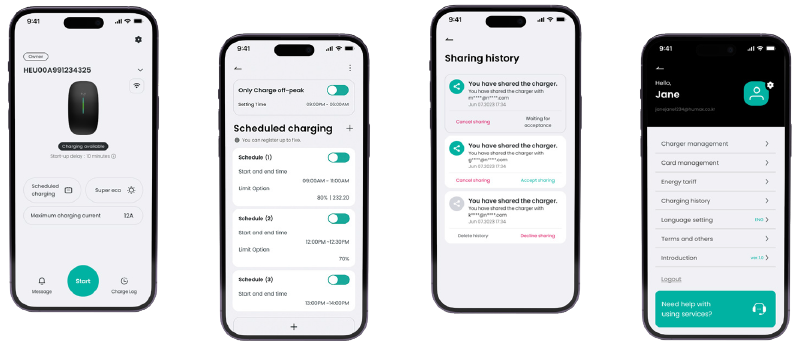
Home
The home screen is where you can control your charger and monitor energy usage. Just plug the charger into your vehicle and tap ‘Start’. Alternatively, swipe your RFID card to activate charging.
Schedules
Charge when local energy demand is low. Set this up along with your own energy management preferences from the ‘Scheduled charging’ tab.
Off-peak Charging
Your eCord charge point will come with a pre-configured schedule to encourage charging during lower energy consumption times (23:00 – 06:00).
Randomised Delay
To prevent problems with the national electricity system when many devices turn on or off at once, a Randomised Delay of up to 10 mins is required when charging starts or stops. You can opt out of this at any time in the app.
Share
Grant access to your home charger with friends and family. Register users inside Manage Users or open the Share options to instantly send a message allowing temporary access.
Support
After installation, we take care of the warranty registration process for you. Should you experience any issues, just visit the Support Hub.
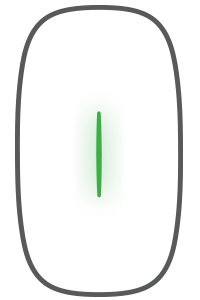
Ready to charge
Green pulses every 3
seconds indicates the charger is in standby and ready to use.
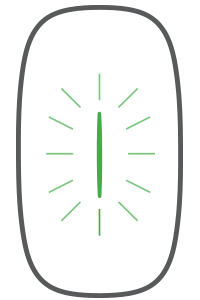
Charging in progress
Green blinking every
second indicates the EV is charging.
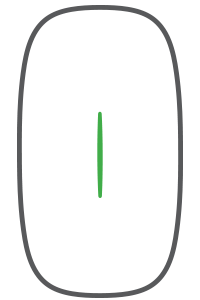
Fully charged
Solid green indicates
the EV is fully charged.
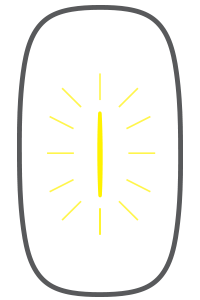
RFID card swipe
Yellow pulse indicates a successful RFID card swipe.
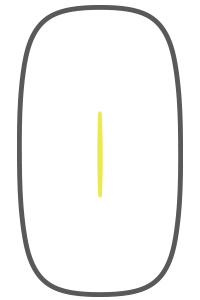
Warning
Solid yellow light
indicates a warning.
Please check the
full user manual for
troubleshooting tips.
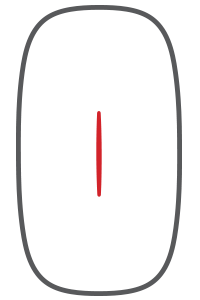
Faults
Solid or blinking red
lights indicates a fault.
Please contact the
support team.
